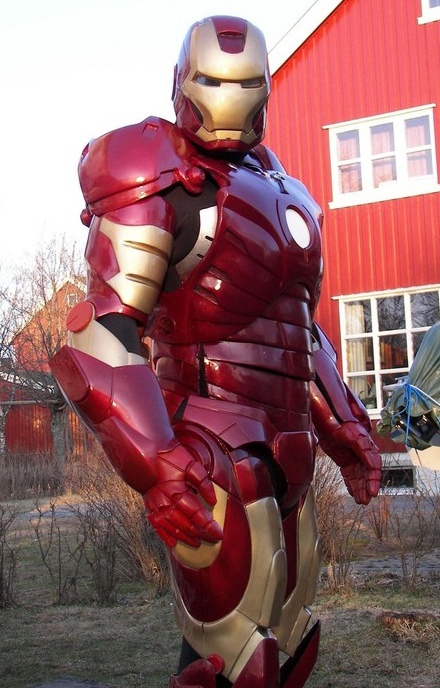
This is probably going to be the most technologically integrated part of the costume. When I finish it I'm planning to have a light up chest and possibly some other moving aspects, or integrated sound effects. For the moment though, it's all about form rather than function.
Looking at Iron Man, there are dozens of armour suits, many of them share features, but in most cases the fine details are different. This can be explained by a gradual evolution of the suit, something that is present throughout all the comics, cartoons and the movies. So I don't need to get the suit 100% perfect, I just need to get it looking vaguely right...but still looking good.
I'm using the 2008 Iron Man movie as my primary inspiration, sourcing as many images from it as I can. But I'm also looking back to the images that inspired the suit design for that movie, the comics and even the trailers for the new movie to get specific ideas on how the armour could work/look.

I found these great items at
Reverse Garbage a few months back, and I've been meaning to use them as a modelling tool for chestplate. So the Iron Man project is perfect.
They appear to have been vacuum moulded from a mannequin torso that has been cut in half. They set me back about $5 each. Originally I planned to jigsaw them, cutting them into a back and front for a greek-style hoplite armour...but I've since decided that they'll make much better bases for sculpting projects.

I'm using a pretty similar technique to the helmet...layers of plaster of paris gradually building up contours until I get something that I like the look of.


Chestplate Front
A central ring will be cut out for mounting the iconic chest light of the armour. I'm still deciding about the rib detail because this varies on a few suits of the Iron Man armour, even within the first movie.

Chestplate Back
There is a protruding bit at the back of the armour which I'll be making use of to store batteries and electronic components for the chestplate.
My apologies that some of the pictures don't have the best lighting, but you get the idea.


